How To Prep Your Closet Before Installing A New Organizer
Back to blog
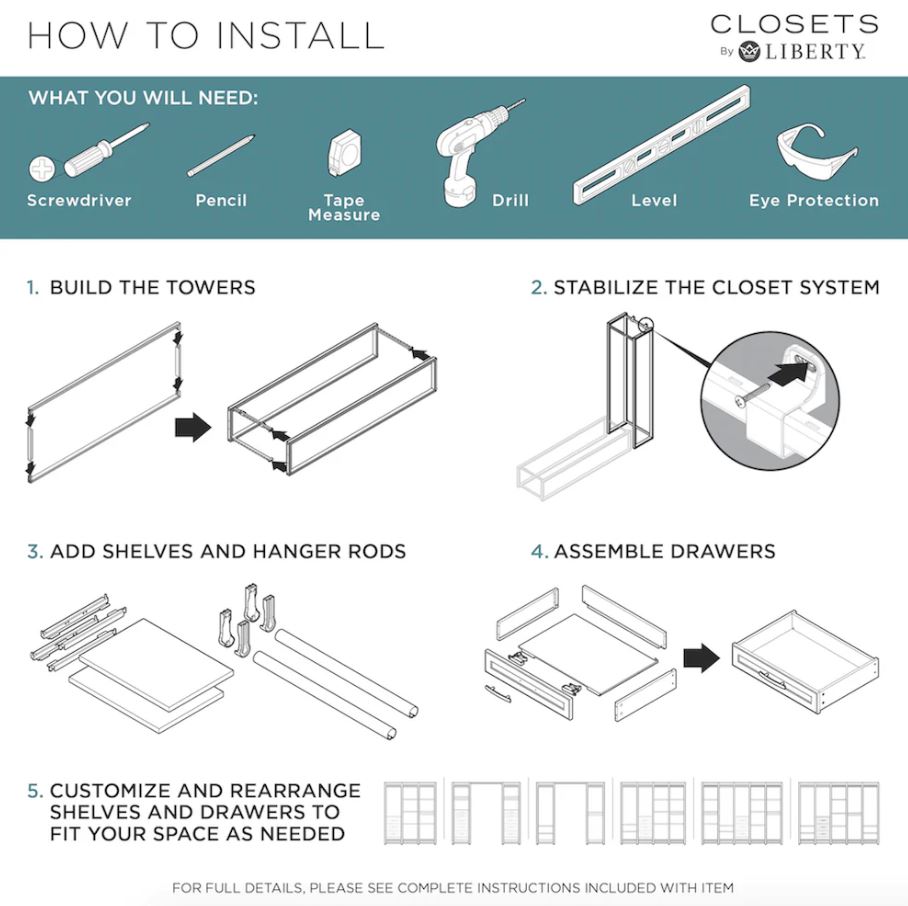
One of the key benefits of a Closets by Liberty™ system is the product’s simple installation process. There’s no need to call in that favor or hire a handyman. You can complete the installation of your new closet organizer all by yourself.
- Say goodbye to heavy lifting
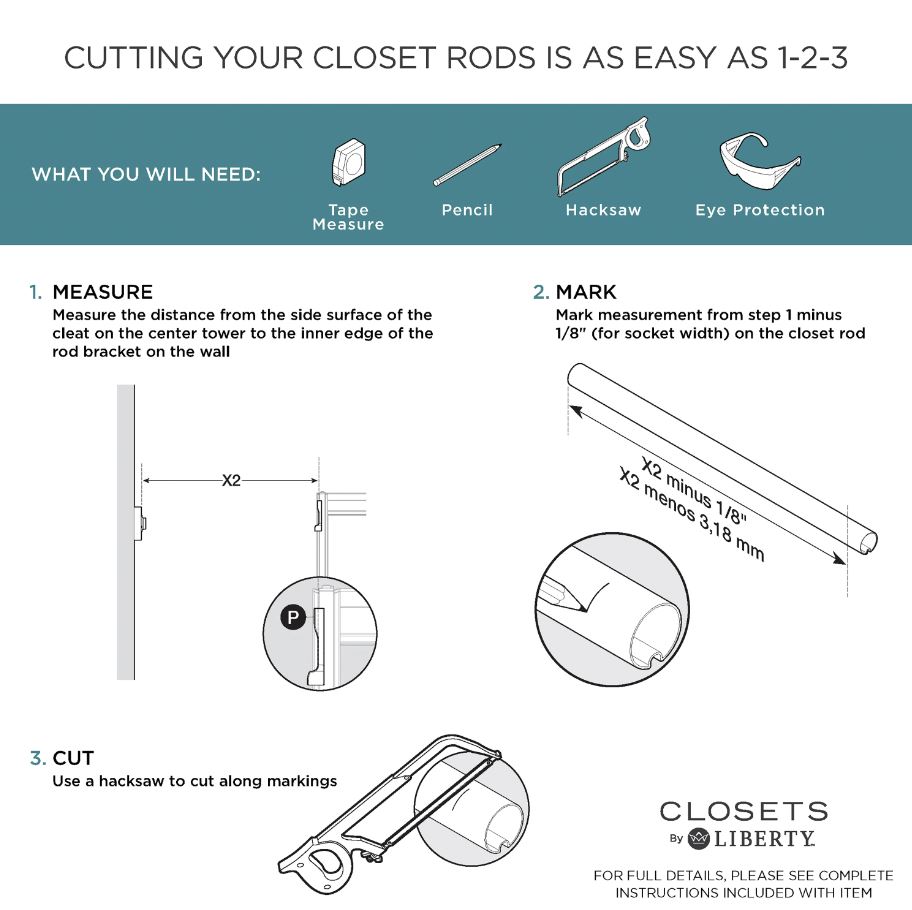
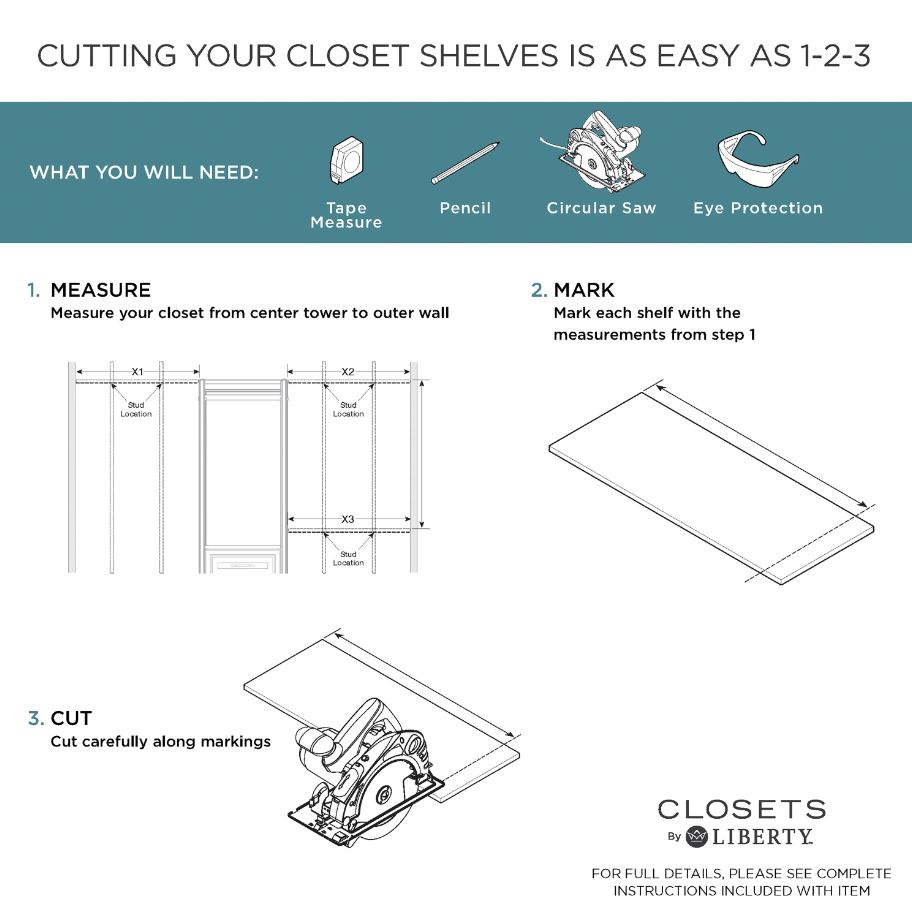
- Avoid extra measuring and sawing
- Use only a few basic household tools
- Reference our detailed instruction materials
- Install in just one afternoon
To make the experience even easier, we’ve created a three-part installation series that reviews the entire process. We’re covering steps for prepping your space, tips for selecting the right system, and tricks for a seamless assembly.
First, let’s walk through 3 easy steps you should take to prep your closet for a new custom closet organizer.
Prep Your Closet in 3 Easy Steps

Step 1: Clear Out Old Closet Systems
Whether you have a small reach-in closet or large walk-in, you need to start with a completely empty space. That means removing all organization tools you were using before, from hanging rods to wire shelving to shoe bins and plastic containers.
The Closets by Liberty™ system is designed to take advantage of every inch of space, so there won’t be room for these old storage accessories. Once your new closet system is installed, you won’t miss these products!
The primary reason you need an empty space is to obtain accurate measurements of your closet space. We will dive deeper into how to correctly measure your closet in part two of this series.

Step 2: Touch Up Your Closet Walls
If your previous systems have left holes, scratches, or dings in your closet walls, now is the time to patch those up!
You may even want to freshen up the closet with a new coat of paint. It’s not required but will give your closet an instant facelift. This step is especially important if you have a walk-in closet with lots of wall space.
Allow yourself time to complete this project and for the paint to dry before you start your build.

Step 3: Deep Clean Your Closet
When was the last time your closet was completely empty and could receive a good cleaning? Unless you’ve just moved in, we bet it has been a while. You now have the perfect opportunity to sweep the area, wipe down the baseboards, and remove any paint spots that may have dripped during step 2.
Once your closet is fully installed, the result will be Instagram-worthy. This step ensures the space is tidy and ready to be shown off!
What’s Next?
So, you’ve followed these 3 steps for prepping your closet. Now it’s time to choose your system based on your closet size and storage needs. In part two, we’ll help you select the perfect system.
Be sure to check back for part three, our final article, which will include tips and tricks for installing the system of your choice.
If you have additional questions about installing your Closets by Liberty™ system, review our FAQs or contact our Customer Care team.
1-866-264-1964
support@closetsbyliberty.com
Monday through Friday, 8am-5pm EST